
Refurbishing a Vintage Valet
We were eating at Momotaro in Chicago when we saw a beautiful vintage valet bench in the bathroom.
The holidays were coming up and I was looking for a “main” gift for Evo. When we were both back at our table after devouring our food (my mouth still waters when I think about our meal there), I mentioned the bench to make sure he saw it. Fast forward a few weeks and I started searching online trying to find another vintage valet bench that wasn’t several hundred to thousands of dollars. And after a some time… I finally found one on EBay!
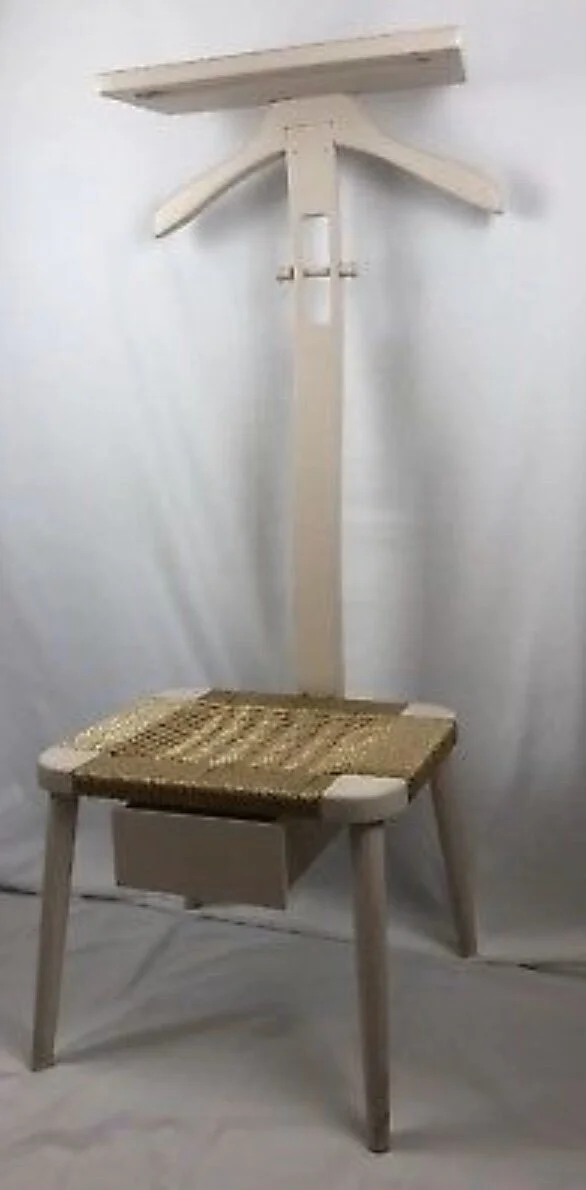
It was painted white but the shape perfectly matched the high-end vintage version. I was so excited that I had found it! And I was getting a good deal. I figured a little paint stripper would clean it right up. I was willing to put in a little extra elbow grease to save a few hundred dollars.
When it arrived, I set up a space in the garage to start the restoration. The tricky part was keeping Evo away since it was his upcoming Christmas gift and he walked in and out of the house through the garage every day. He’s the type that would rather know what he’s getting than be surprised the morning-of, so it was a task keeping it a secret!
After setting up a big plastic sheet on the garage floor, I covered all of the white-painted parts in orange stripper. Slowly I was able to peel off the white paint expecting to see a beautiful warm wood grain… only to reveal a bright apple-green paint underneath. That was not part of the plan!
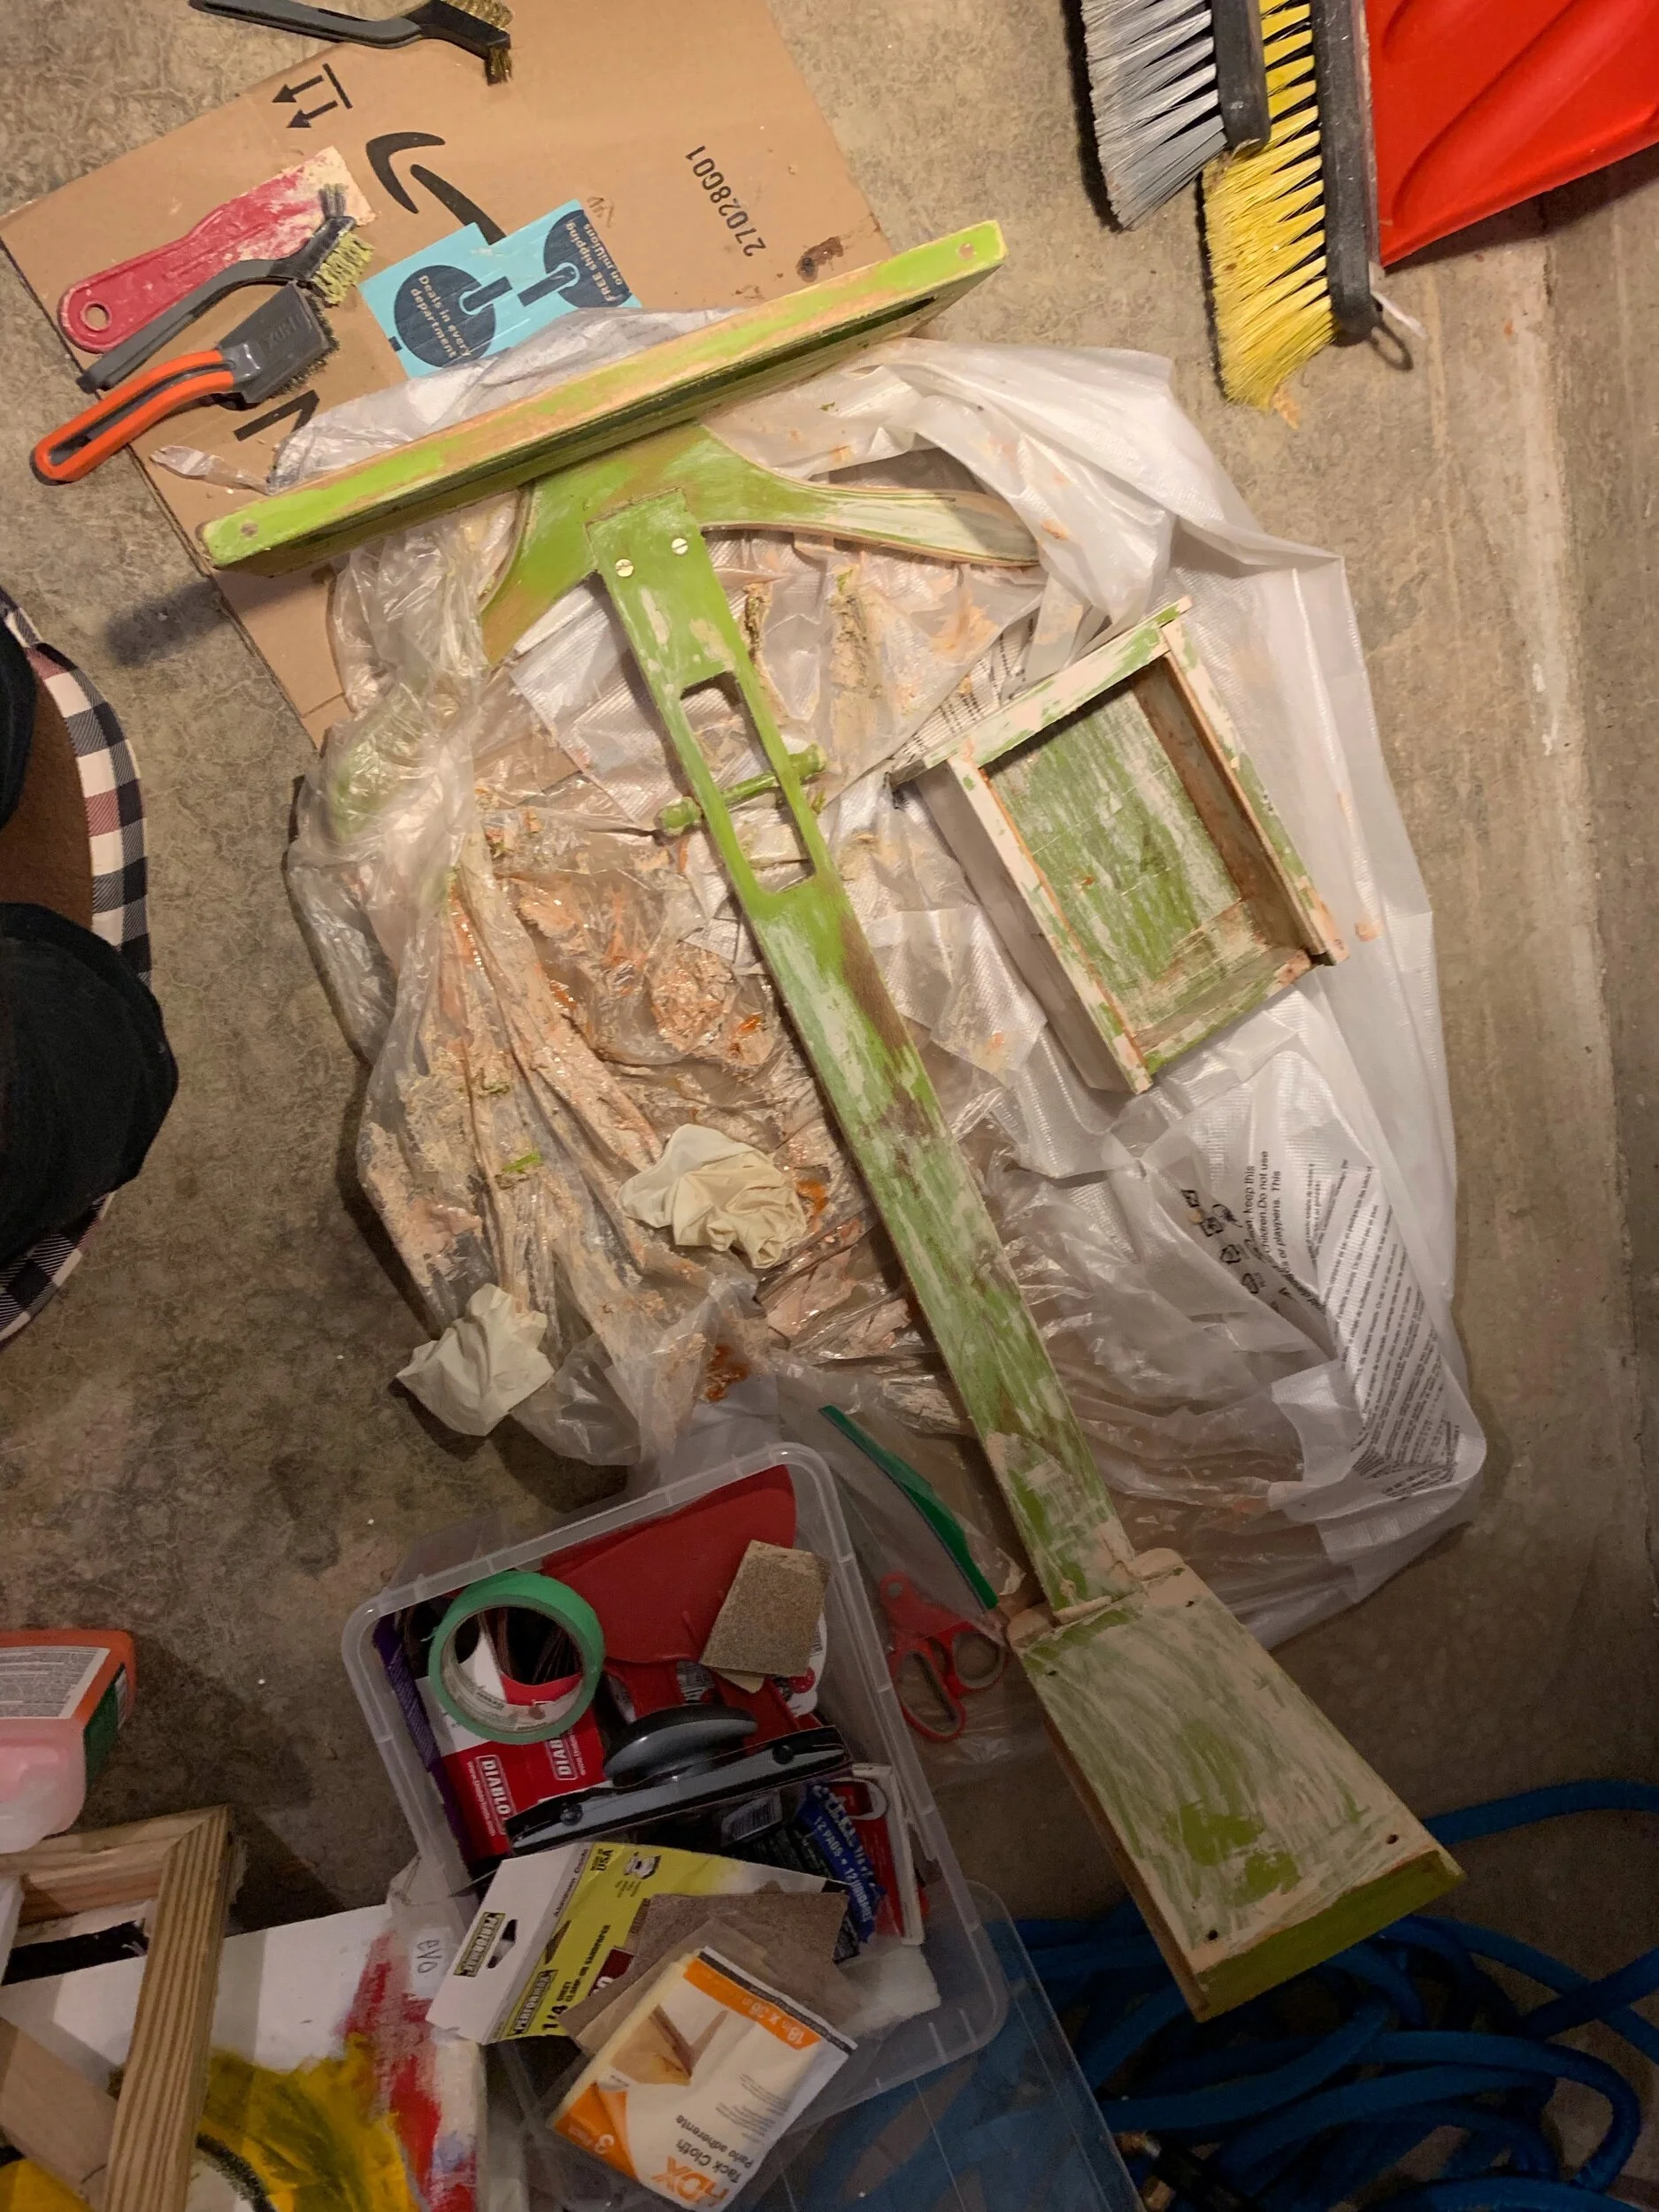
The not-so-pretty process of paint stripping.

Safety gear but make it fashion.
After another couple unsuccessful coats of orange stripper, I ended up sanding much of the wood pieces. Messy, hence the protective wear. Everything was covered in a green dust. But, alas, it worked! I could see a beautiful light-colored wood grain.
I was planning on keeping the existing woven seat but after seeing it in person, it just didn’t look great. And to be completely honest, it was a little stinky. Like mildew and someone else’s dust. So off it came.
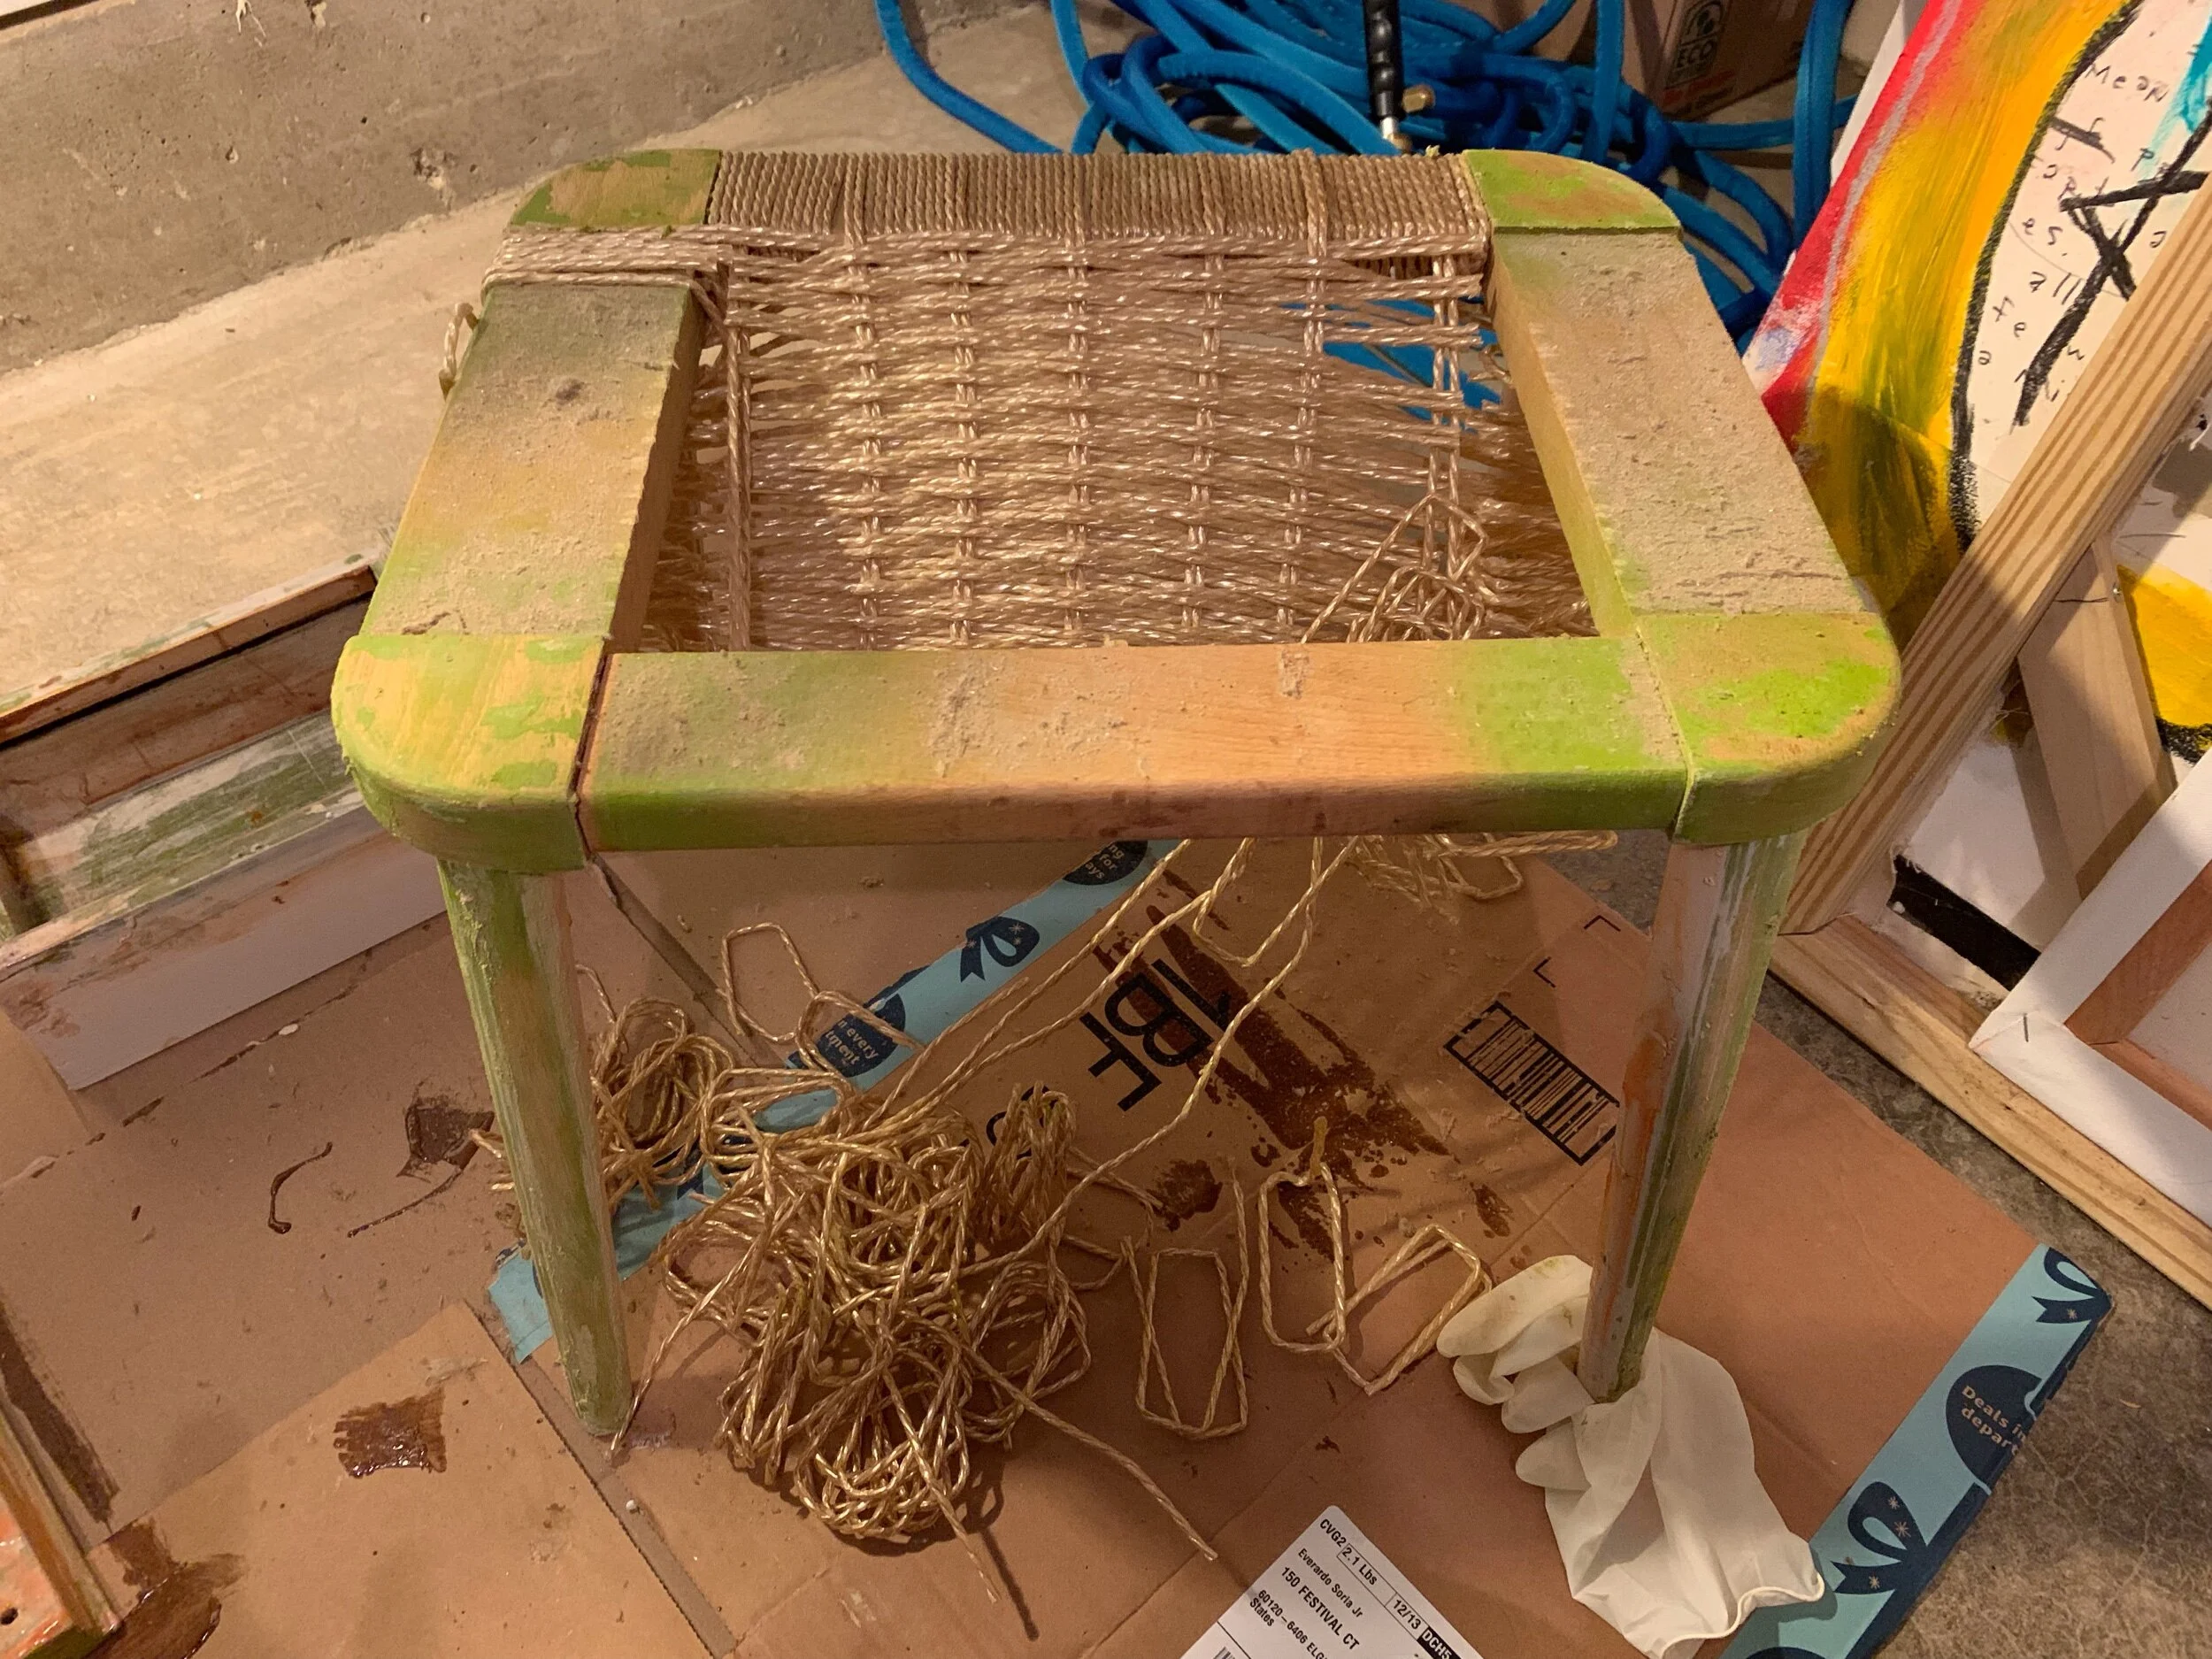
Removing the old woven seat and a peak of the previous green paint finish.
Now after I made these cuts I was freaking out. I had never woven a seat before. WHAT DID I JUST DO?? Also I should not it was about a week before Christmas. Did I just ruin this bench after all that stripping and sanding??
So I started a relatively in-depth research on Danish and Amish weaving techniques on blogs and vlogs and found a few different weaving methods. I originally bought paper rush before I learned how labor intensive it was. I didn’t want to deal with soaking the paper rush cord and all of that. Plus, the style of the valet bench was mid-century and I liked the clean style of the Danish cord. I abandoned the rush and headed to the local Ace store to see if I could find rope. I was in a time crunch and couldn’t need to see everything in person instead of risking an online order that may not look the same in person as the online photo. Luckily, Ace had options and lots of them.
Also, between reading scans of old seat-weaving books online, I started staining the newly-sanded wood. Since our old townhouse had blonde floors, I wanted to add a little color to the wood, so I used a medium-toned wood stain.
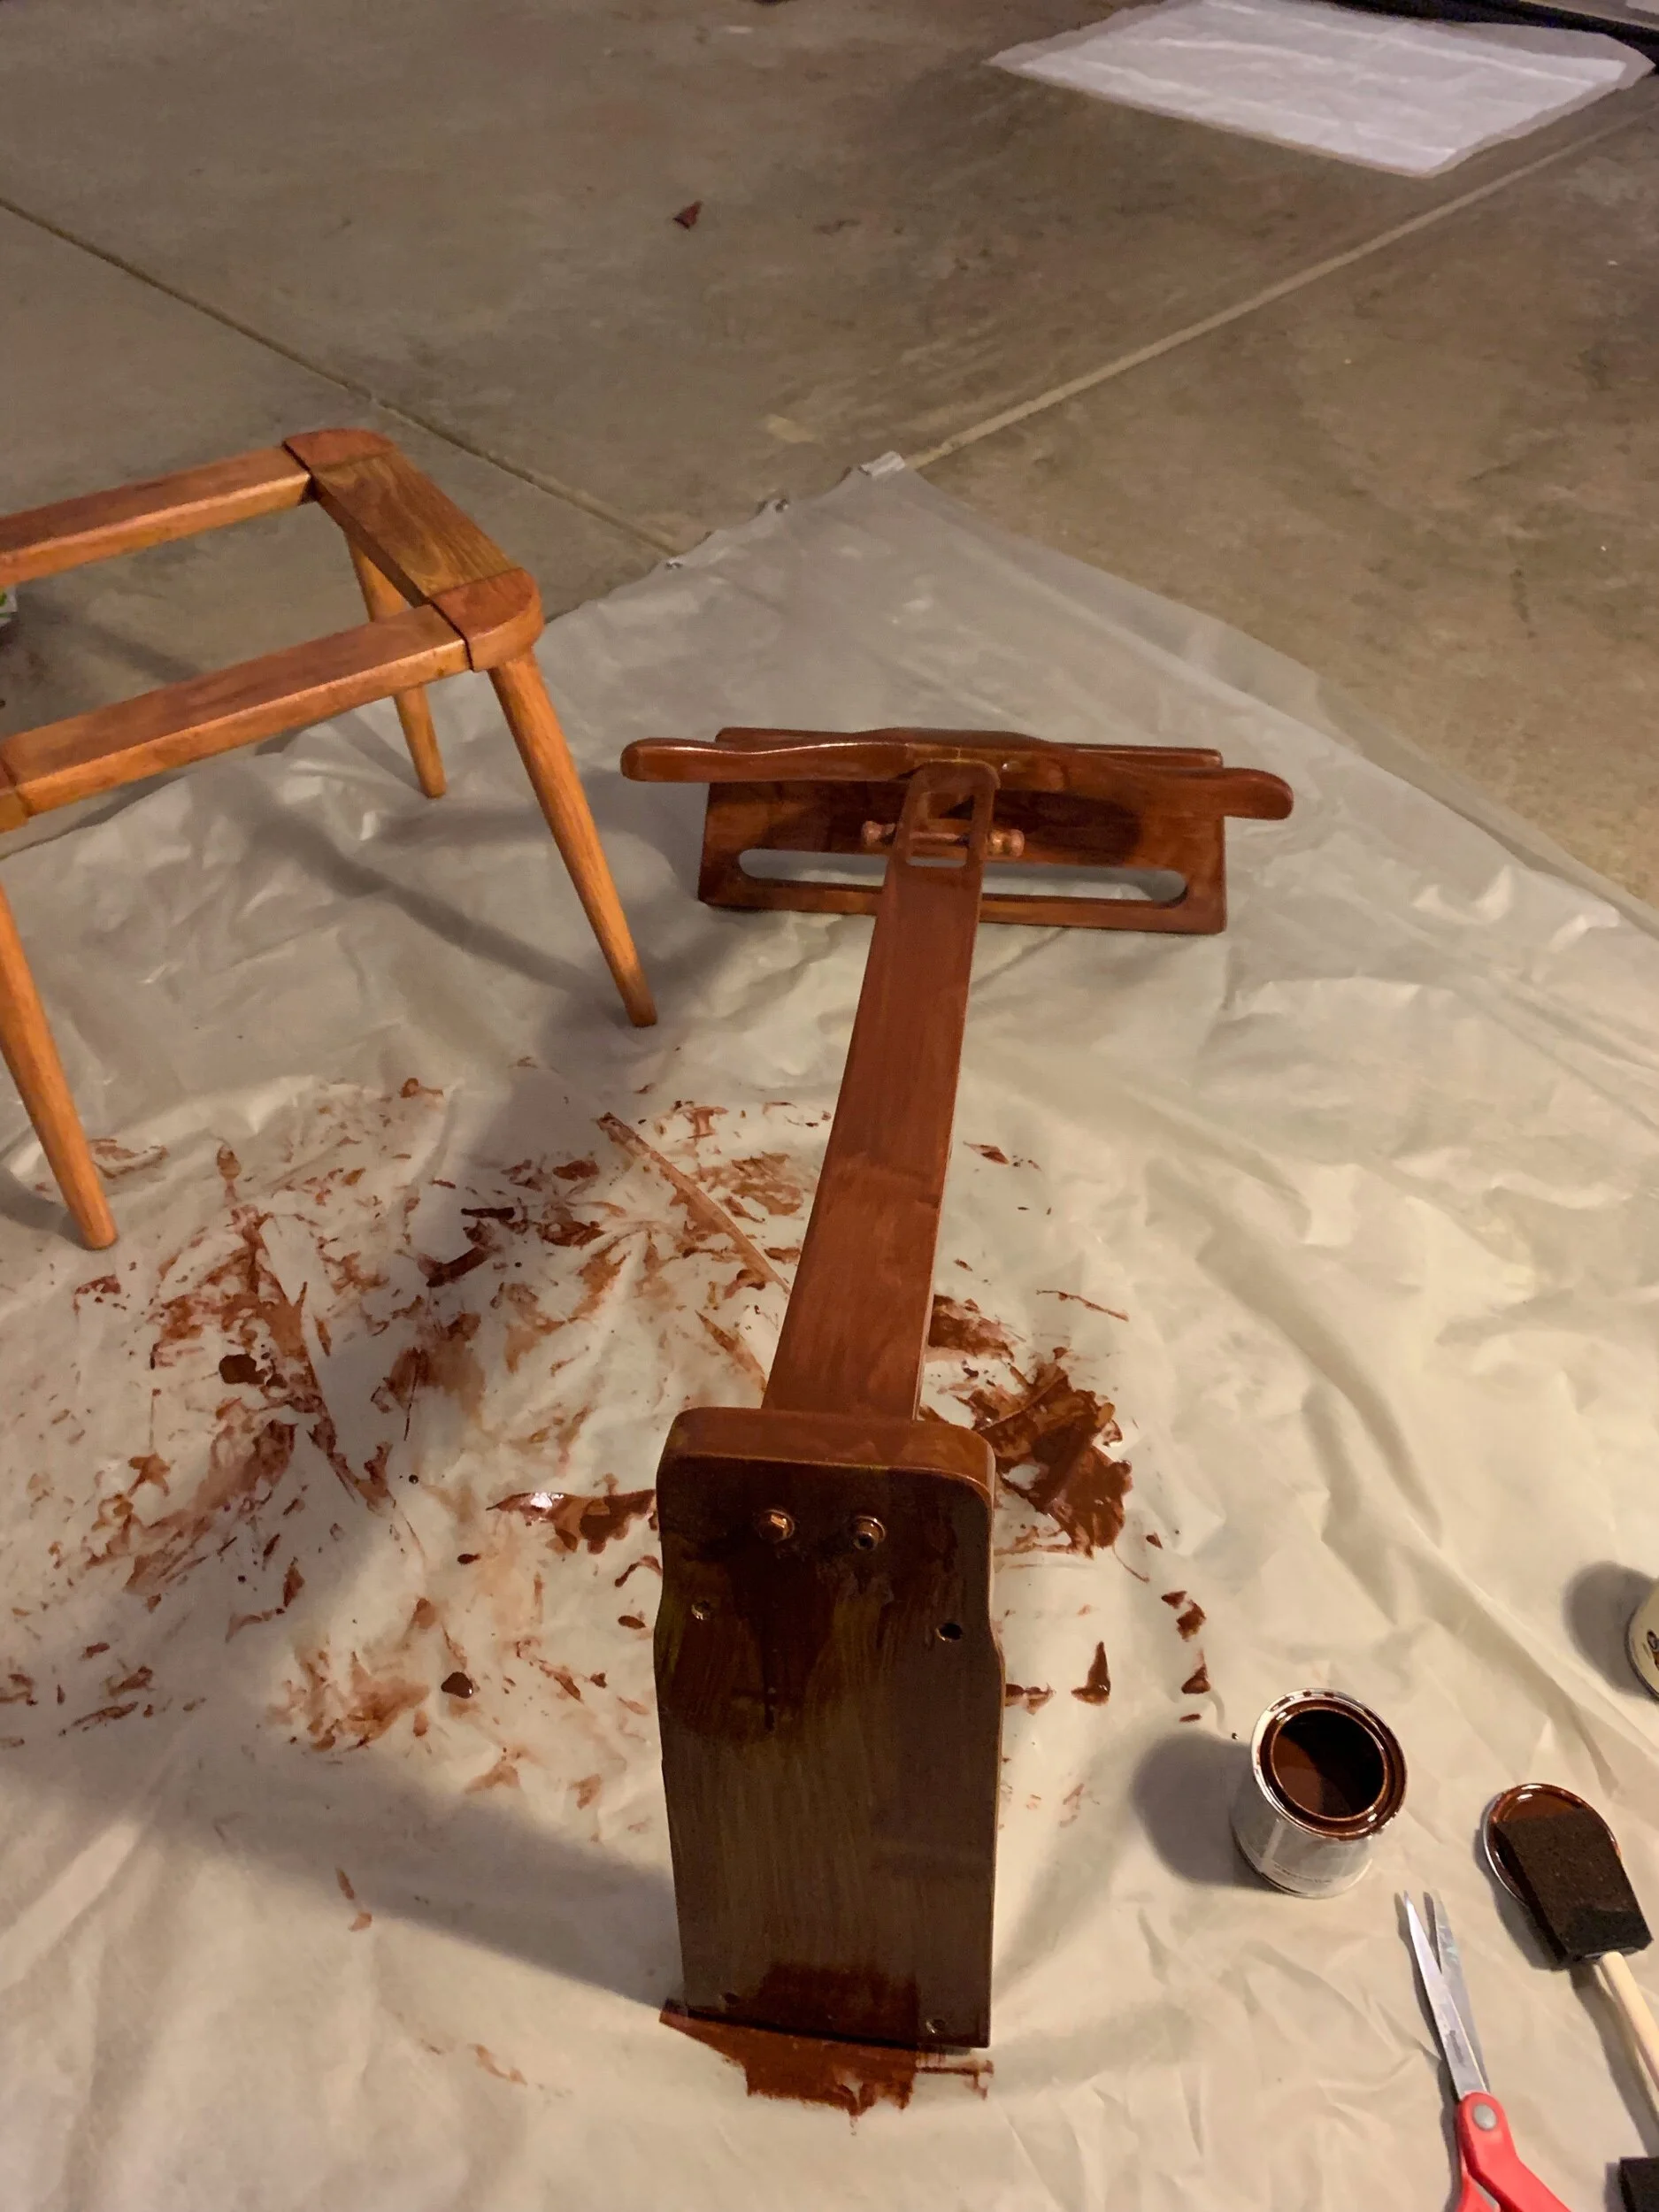
Staining the wood pieces.
Once the stain dried, it was time to weave. This was not something I had done before and at this point I needed to get this finished so I just dove in head first. YouTube video tutorials were definitely helpful.
It was trial and error at first but after a while it just started taking shape. I handled two cords at a time and stapled the ends to the underside of the bench, then wrapped it around the side rail. I repeated this on the other side of the bench. Then I wrapped the cord across the bench on the top and on the bottom, and wrapped the cords around the bench again to tighten then secure the stretched cord. When the cord is wrapped around the side rail, it allows space between each cord, which would later allow me to weave the cord in the perpendicular direction. These steps were repeated until I reached the corner. When I ran out of rope, I stapled the ends on the bottom with my brad nailer (you could also use a hand stapler), and stapled on a new cord and continued the weaving pattern. Once I reached the corner, I clipped and stapled the cords, then started wrapping on the other two sides. It’s the same process as before, except this time you have to weave the cords between (over and under) the perpendicular or weft cords. This is what created the woven effect.
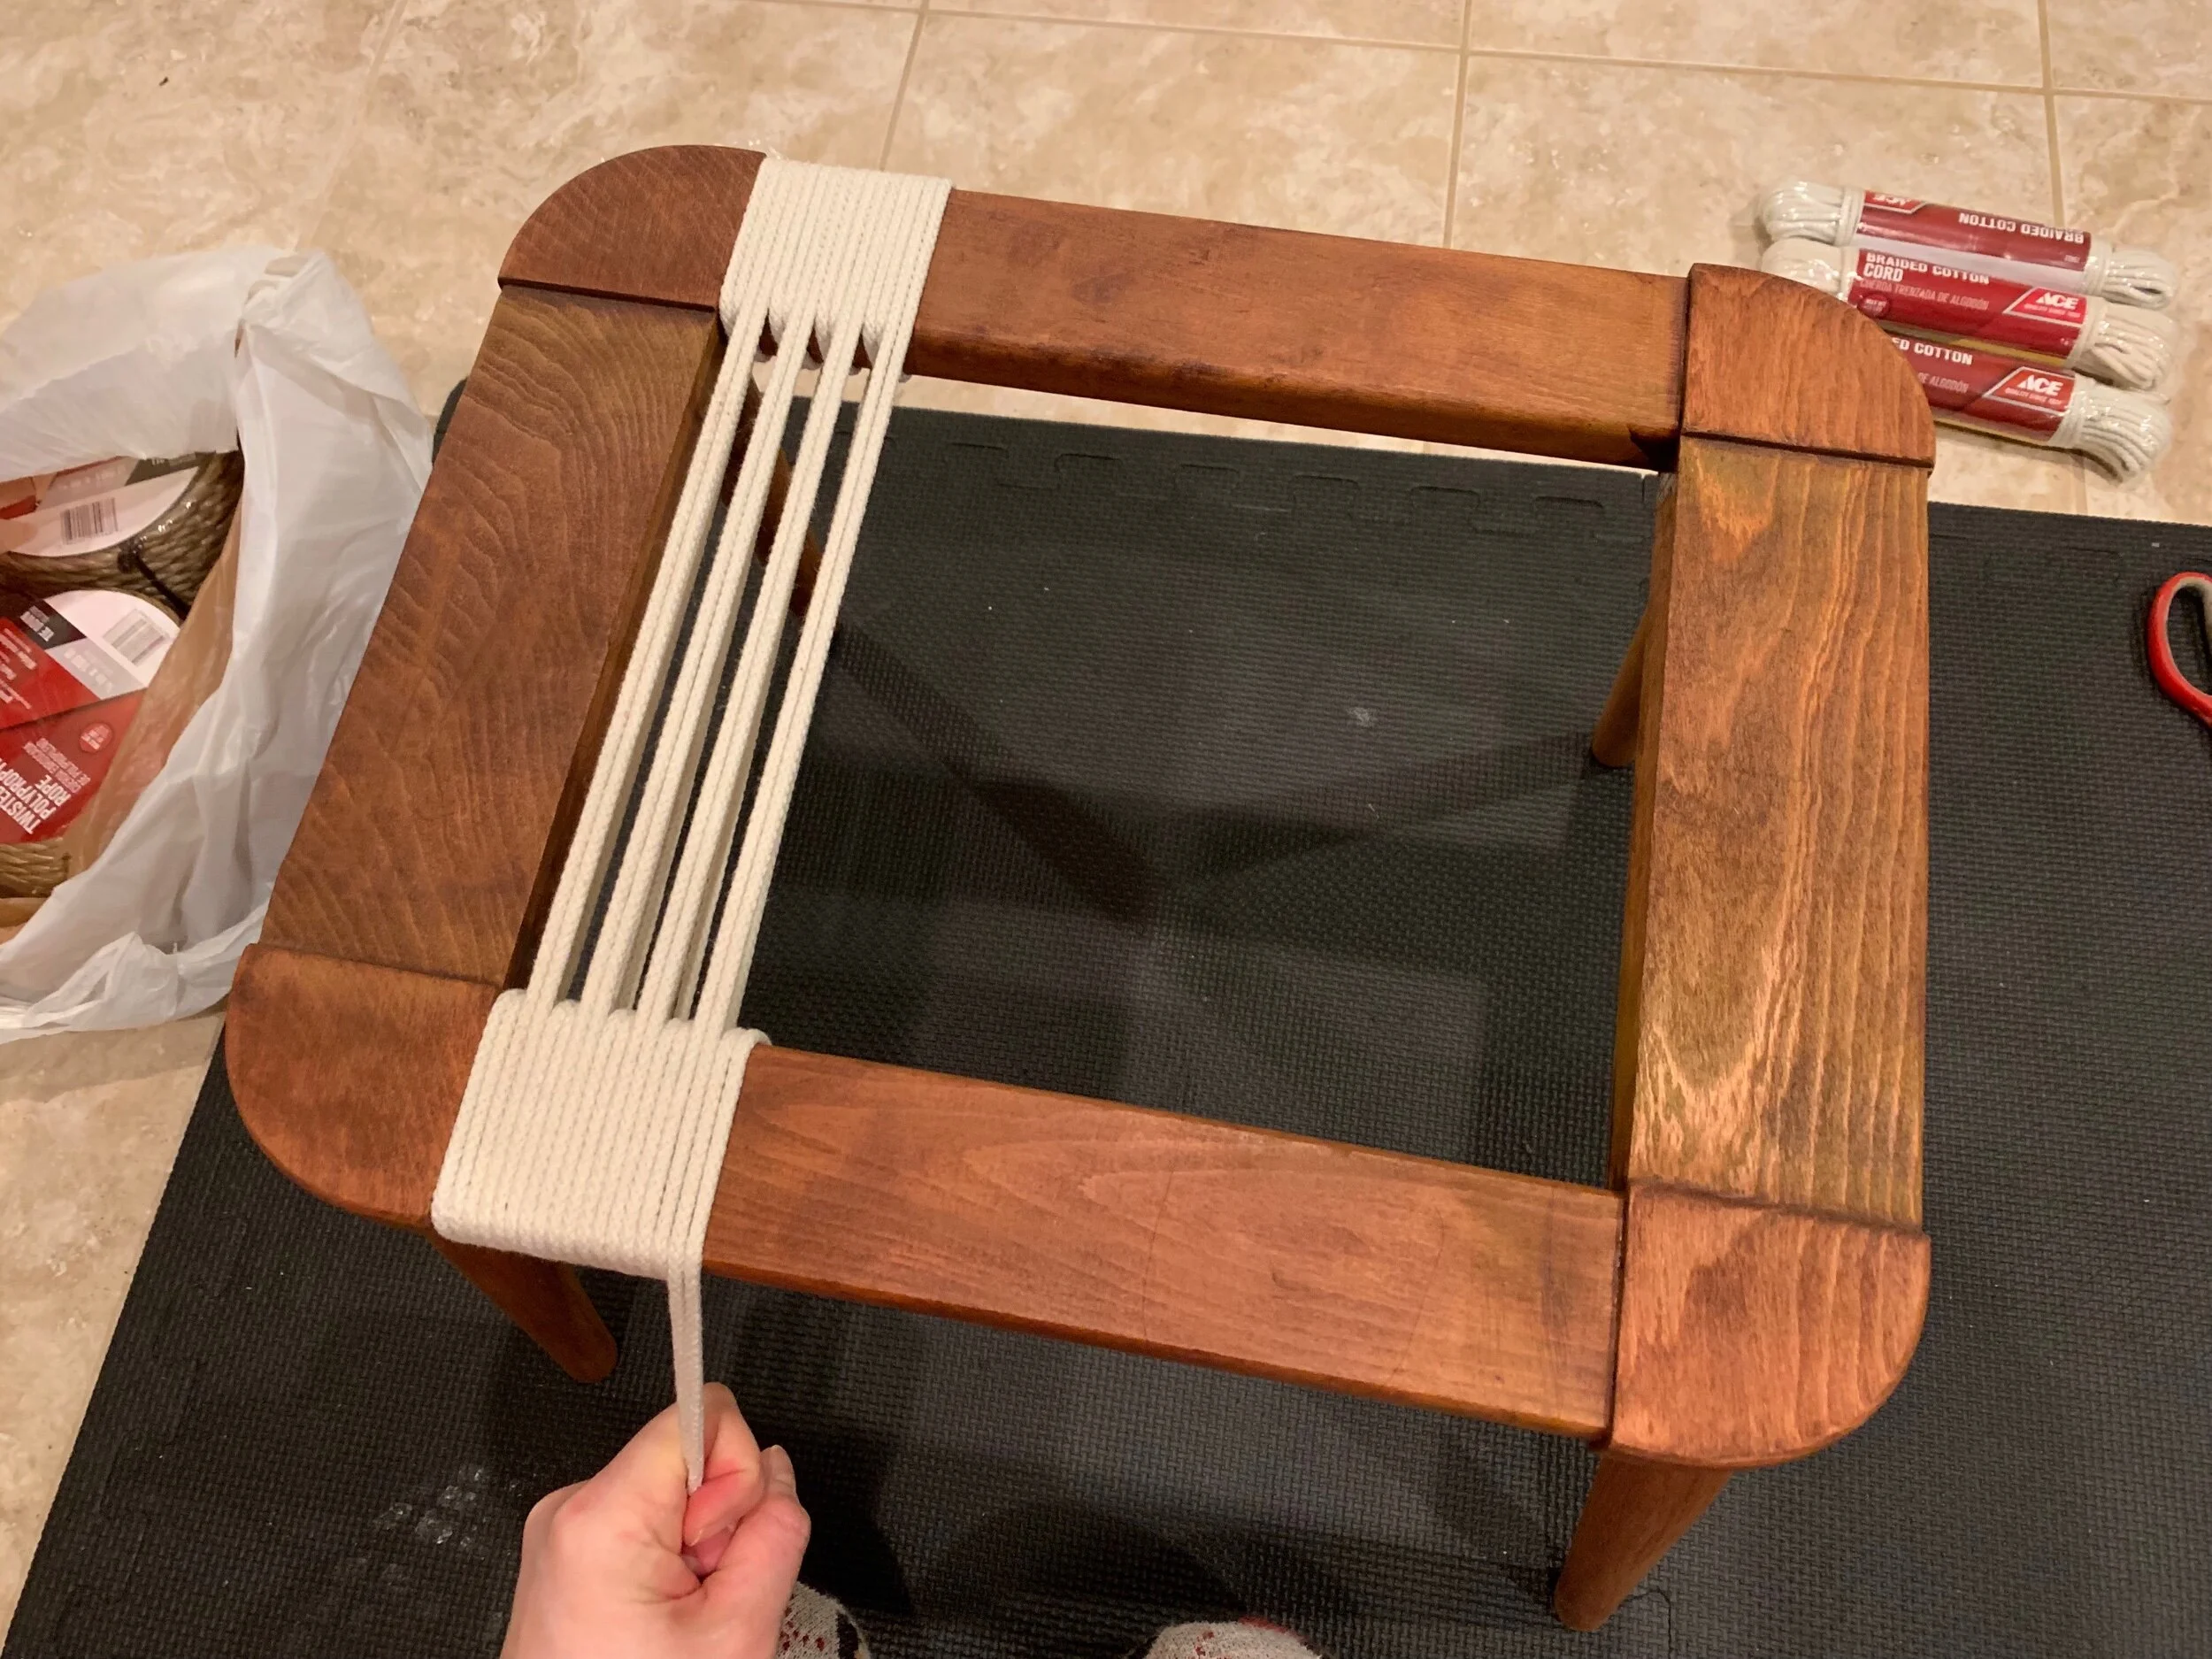
Wrapping the cords around, then across, then repeat.
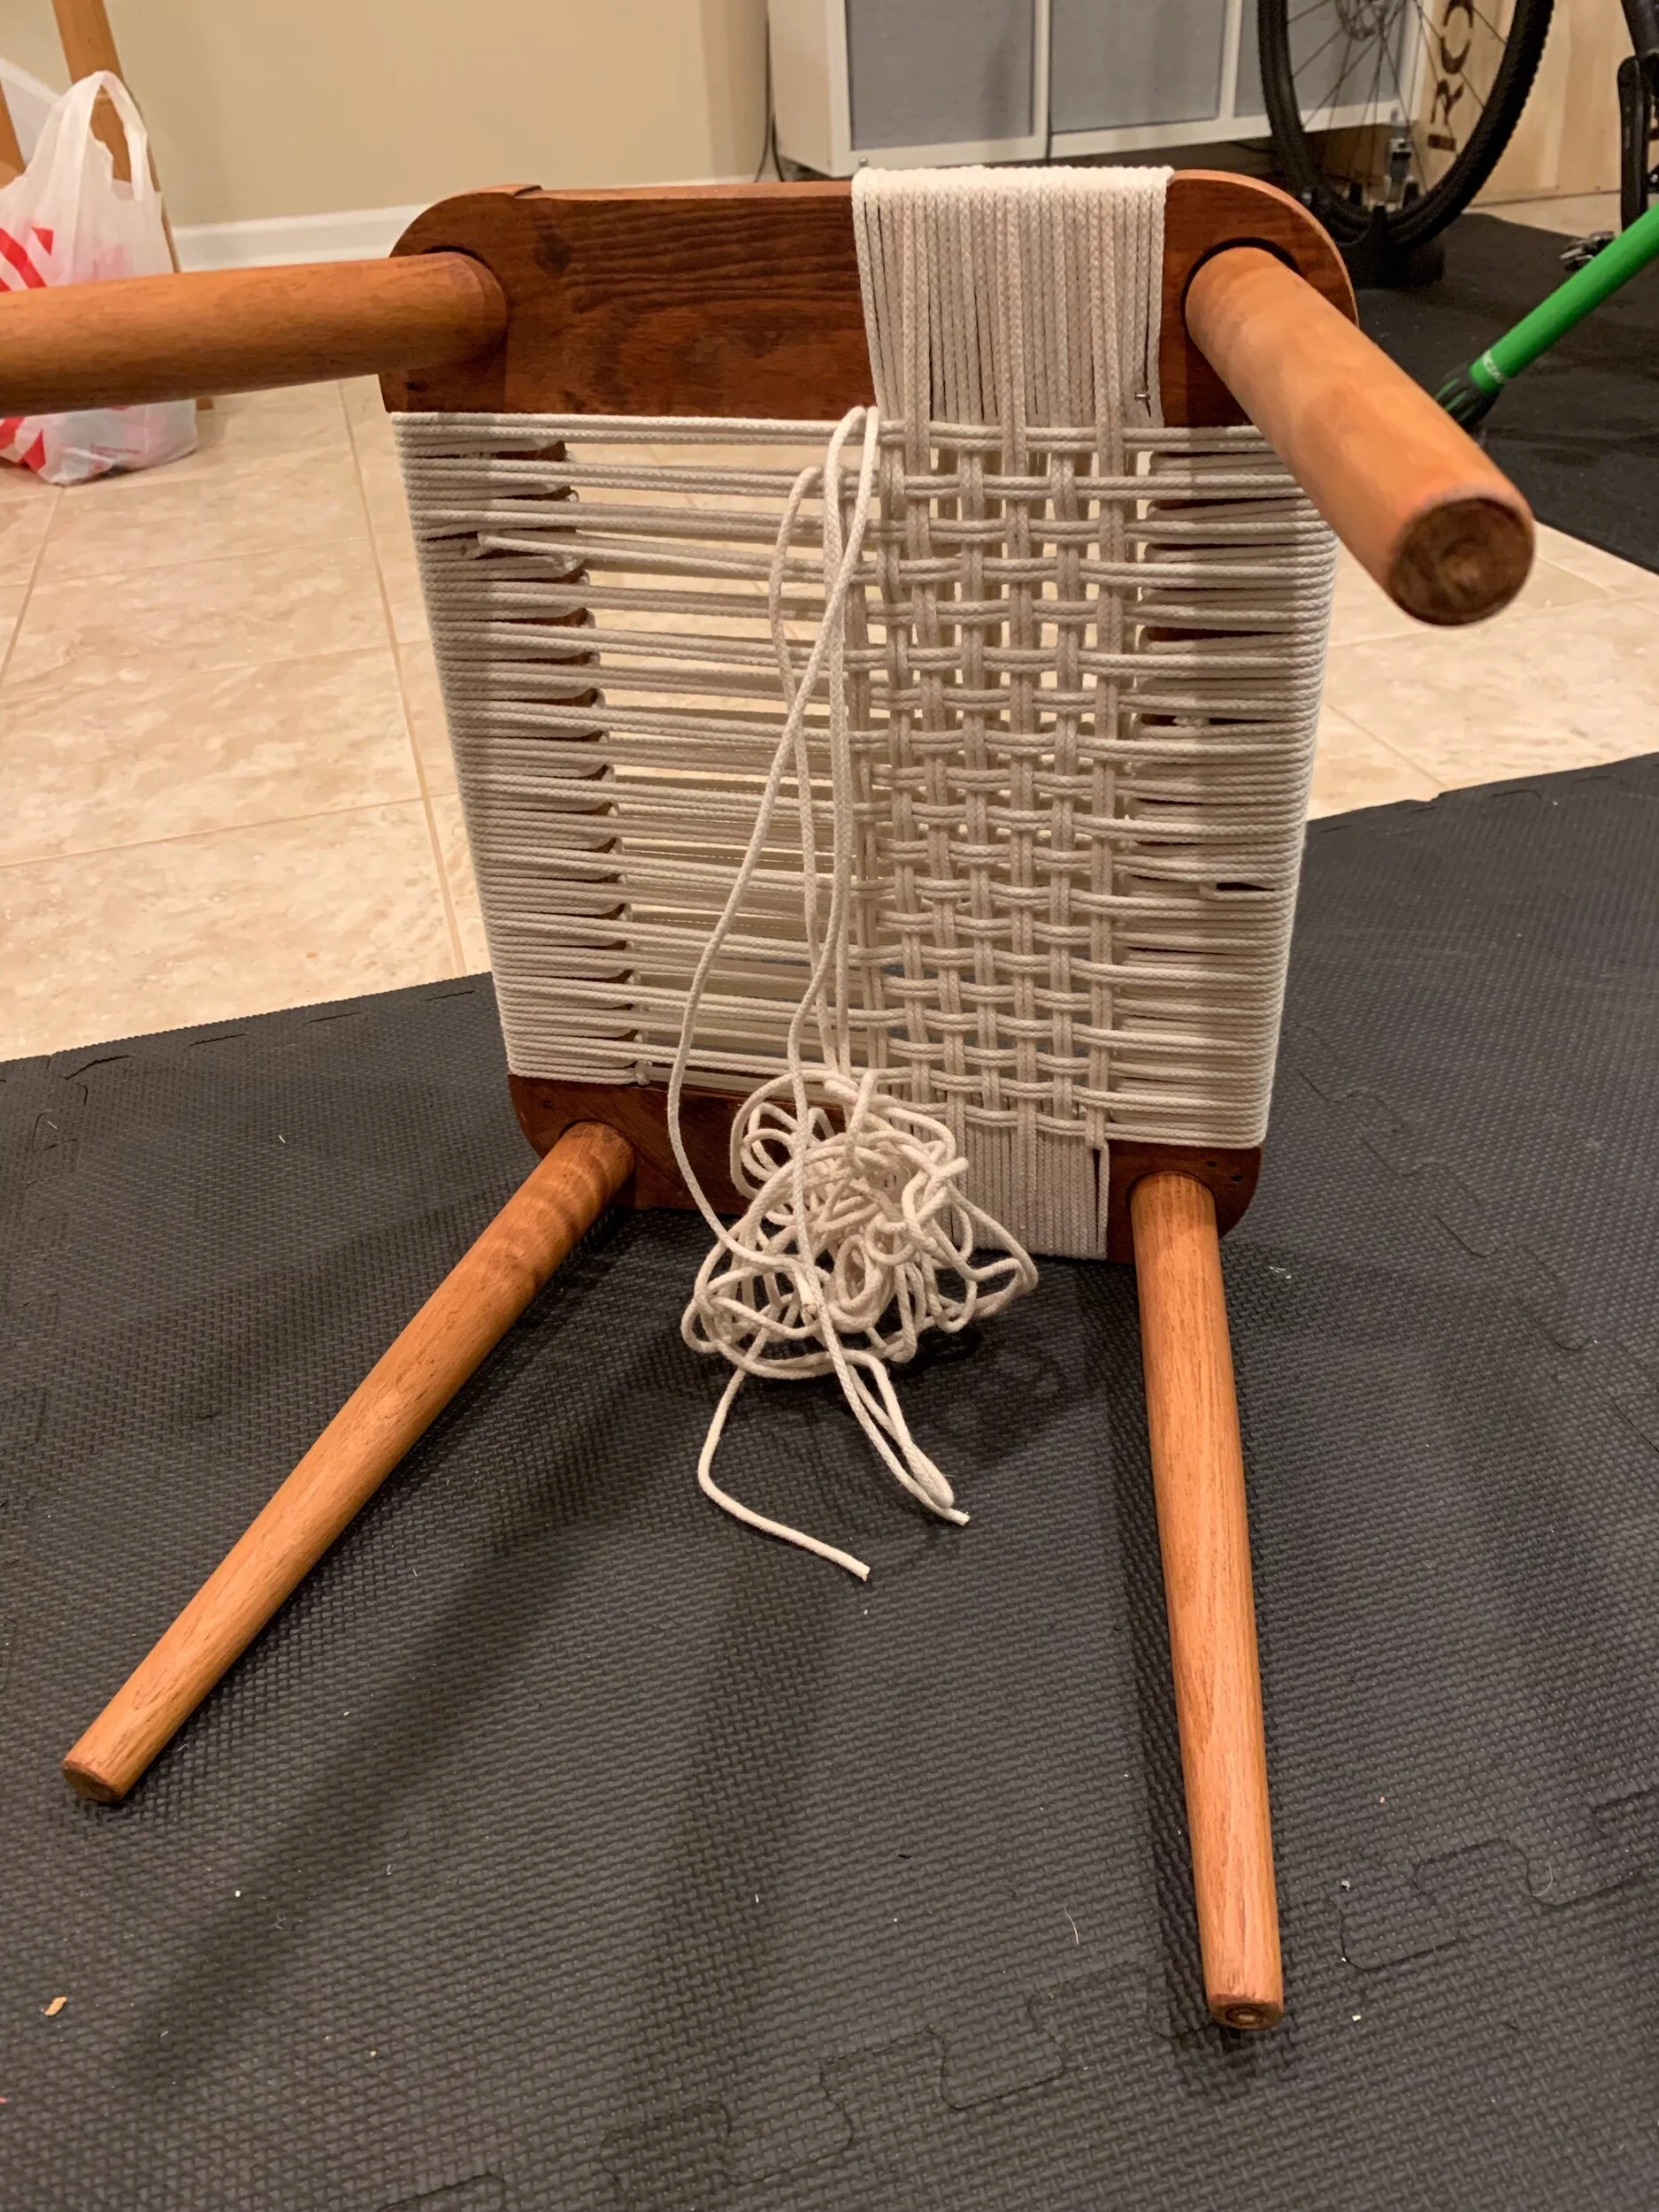
Weaving the perpendicular cords over and under the weft cords.
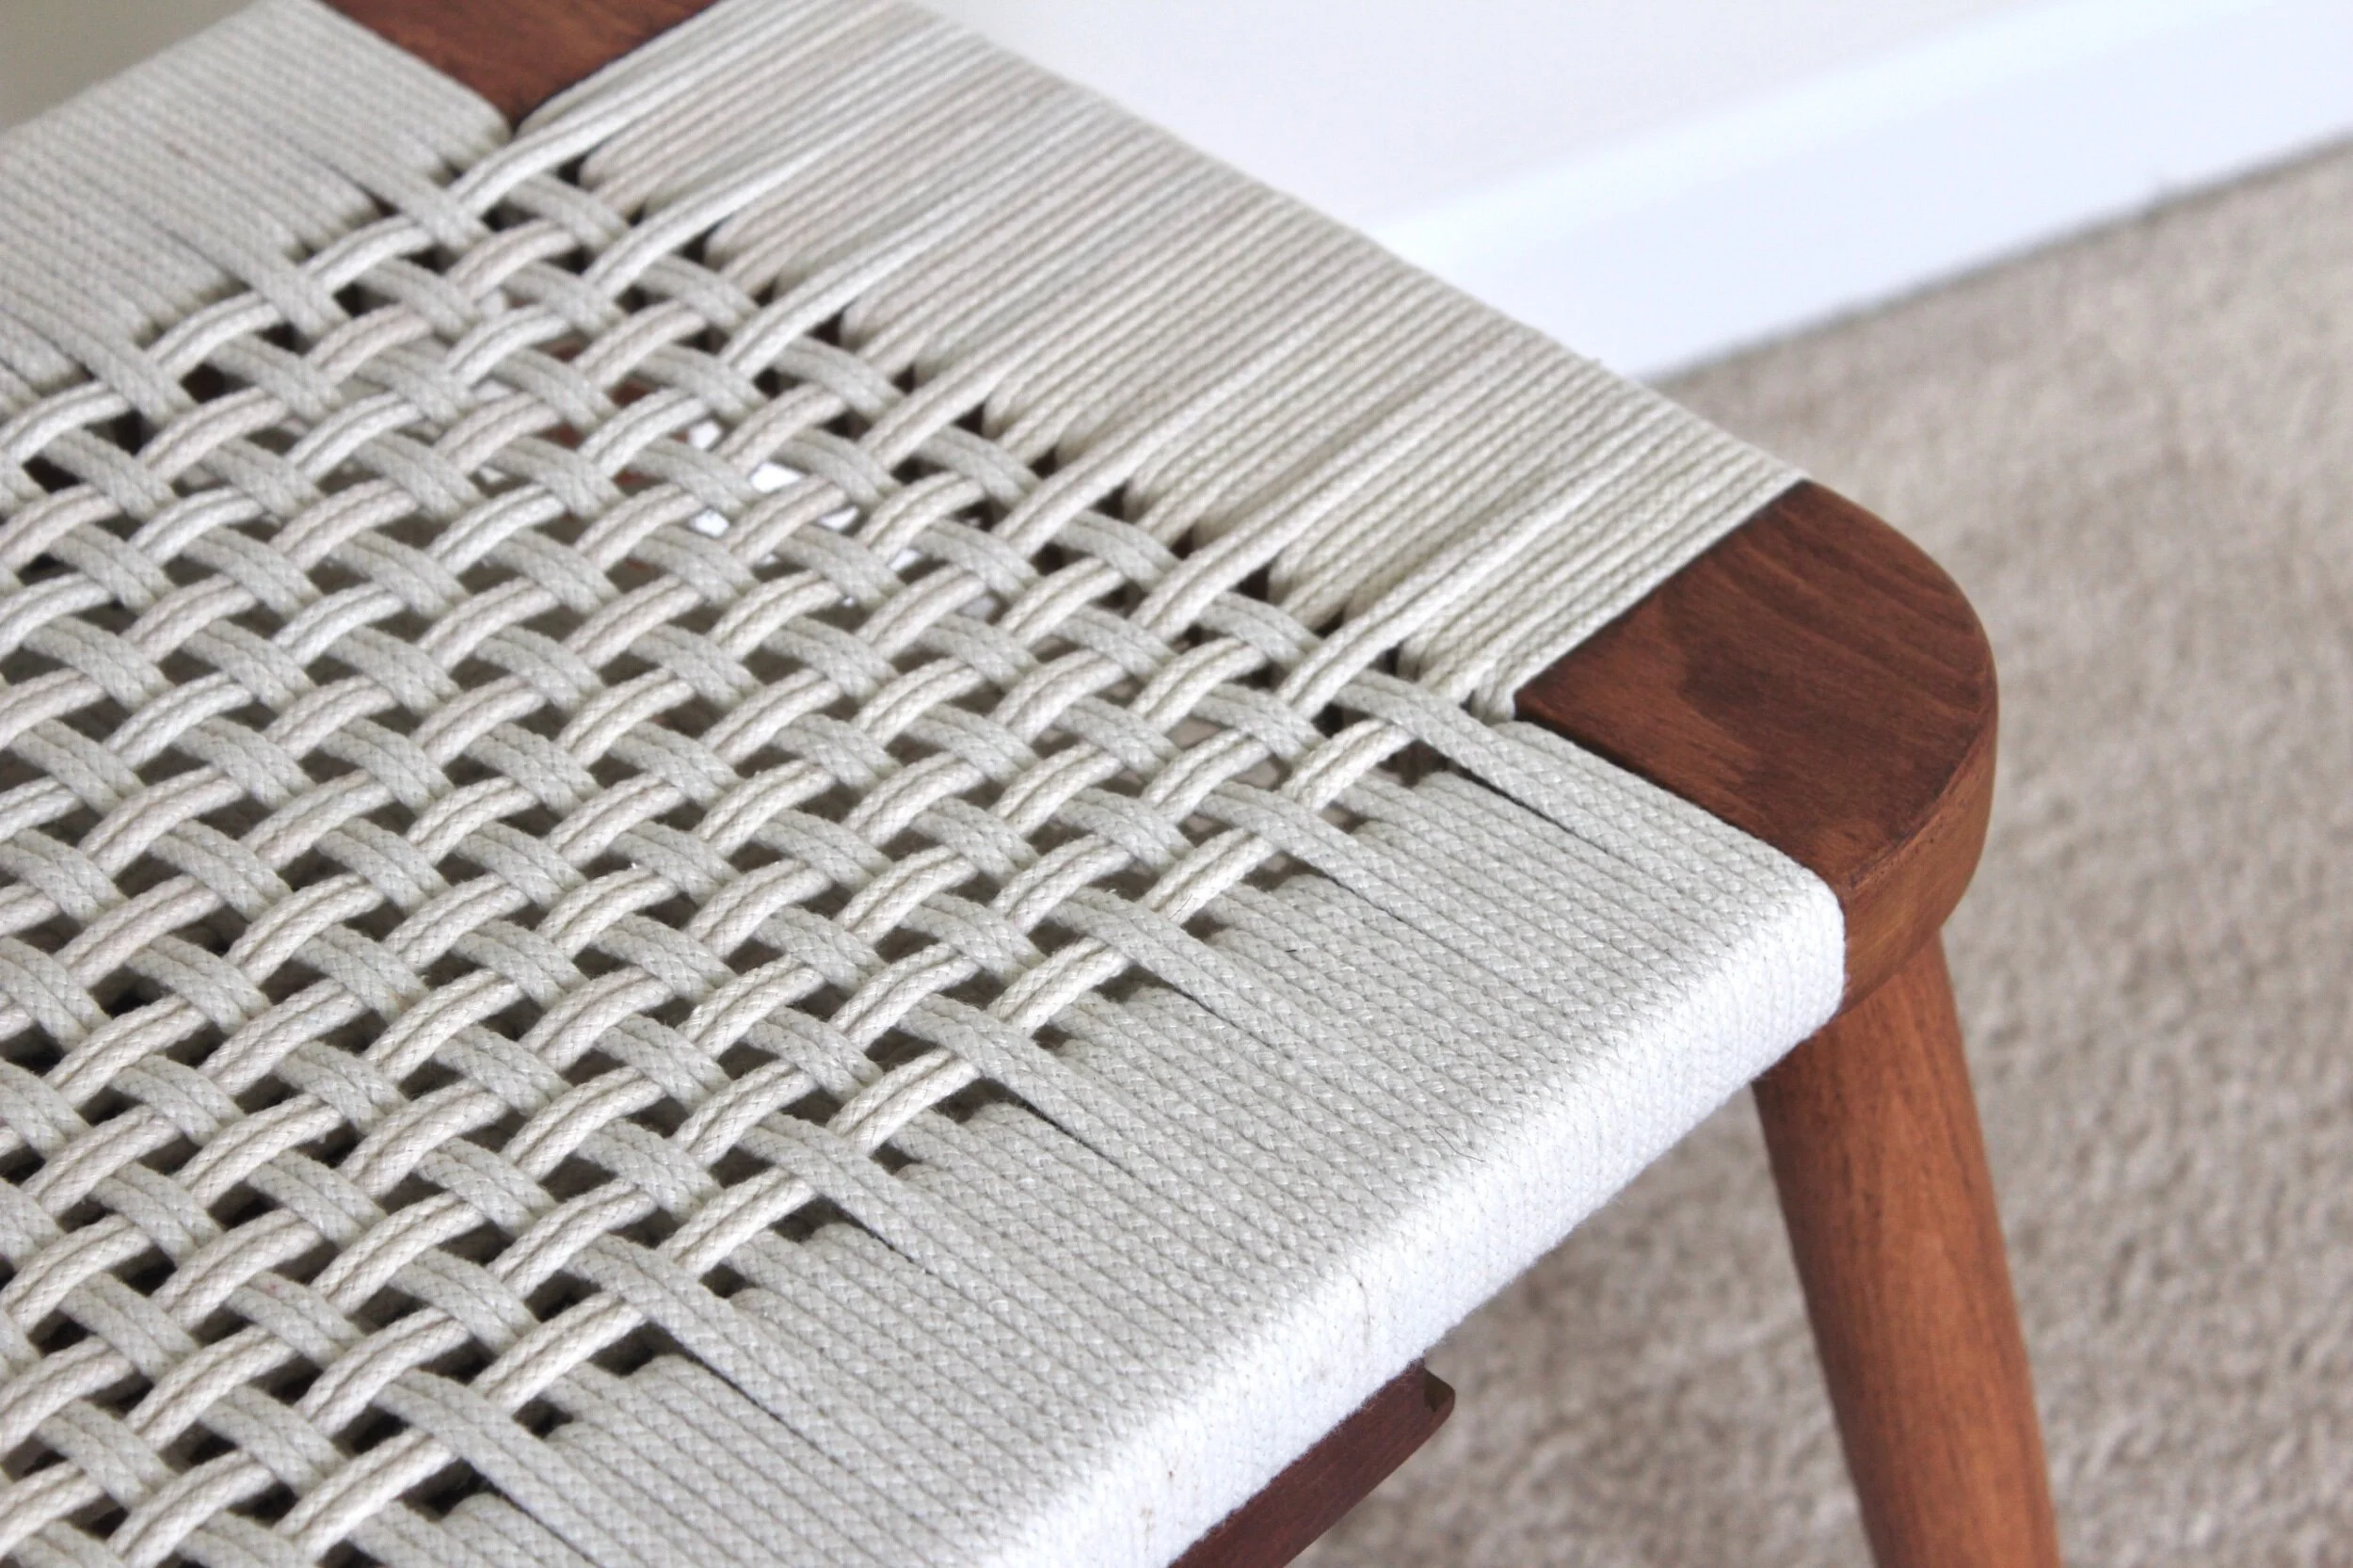
This took some time and lots of patience because you’re weaving a large ball (or to be completely honest, a knotted mess) of rope between the tight weft cords. It takes some finessing but went much quicker than I was expecting. As I saw the weave take shape, I GOT SO EXCITED!! There were some mistakes like wood stain drops on the white cord and mismatched cord colors, but all-in-all, I was happy with it.
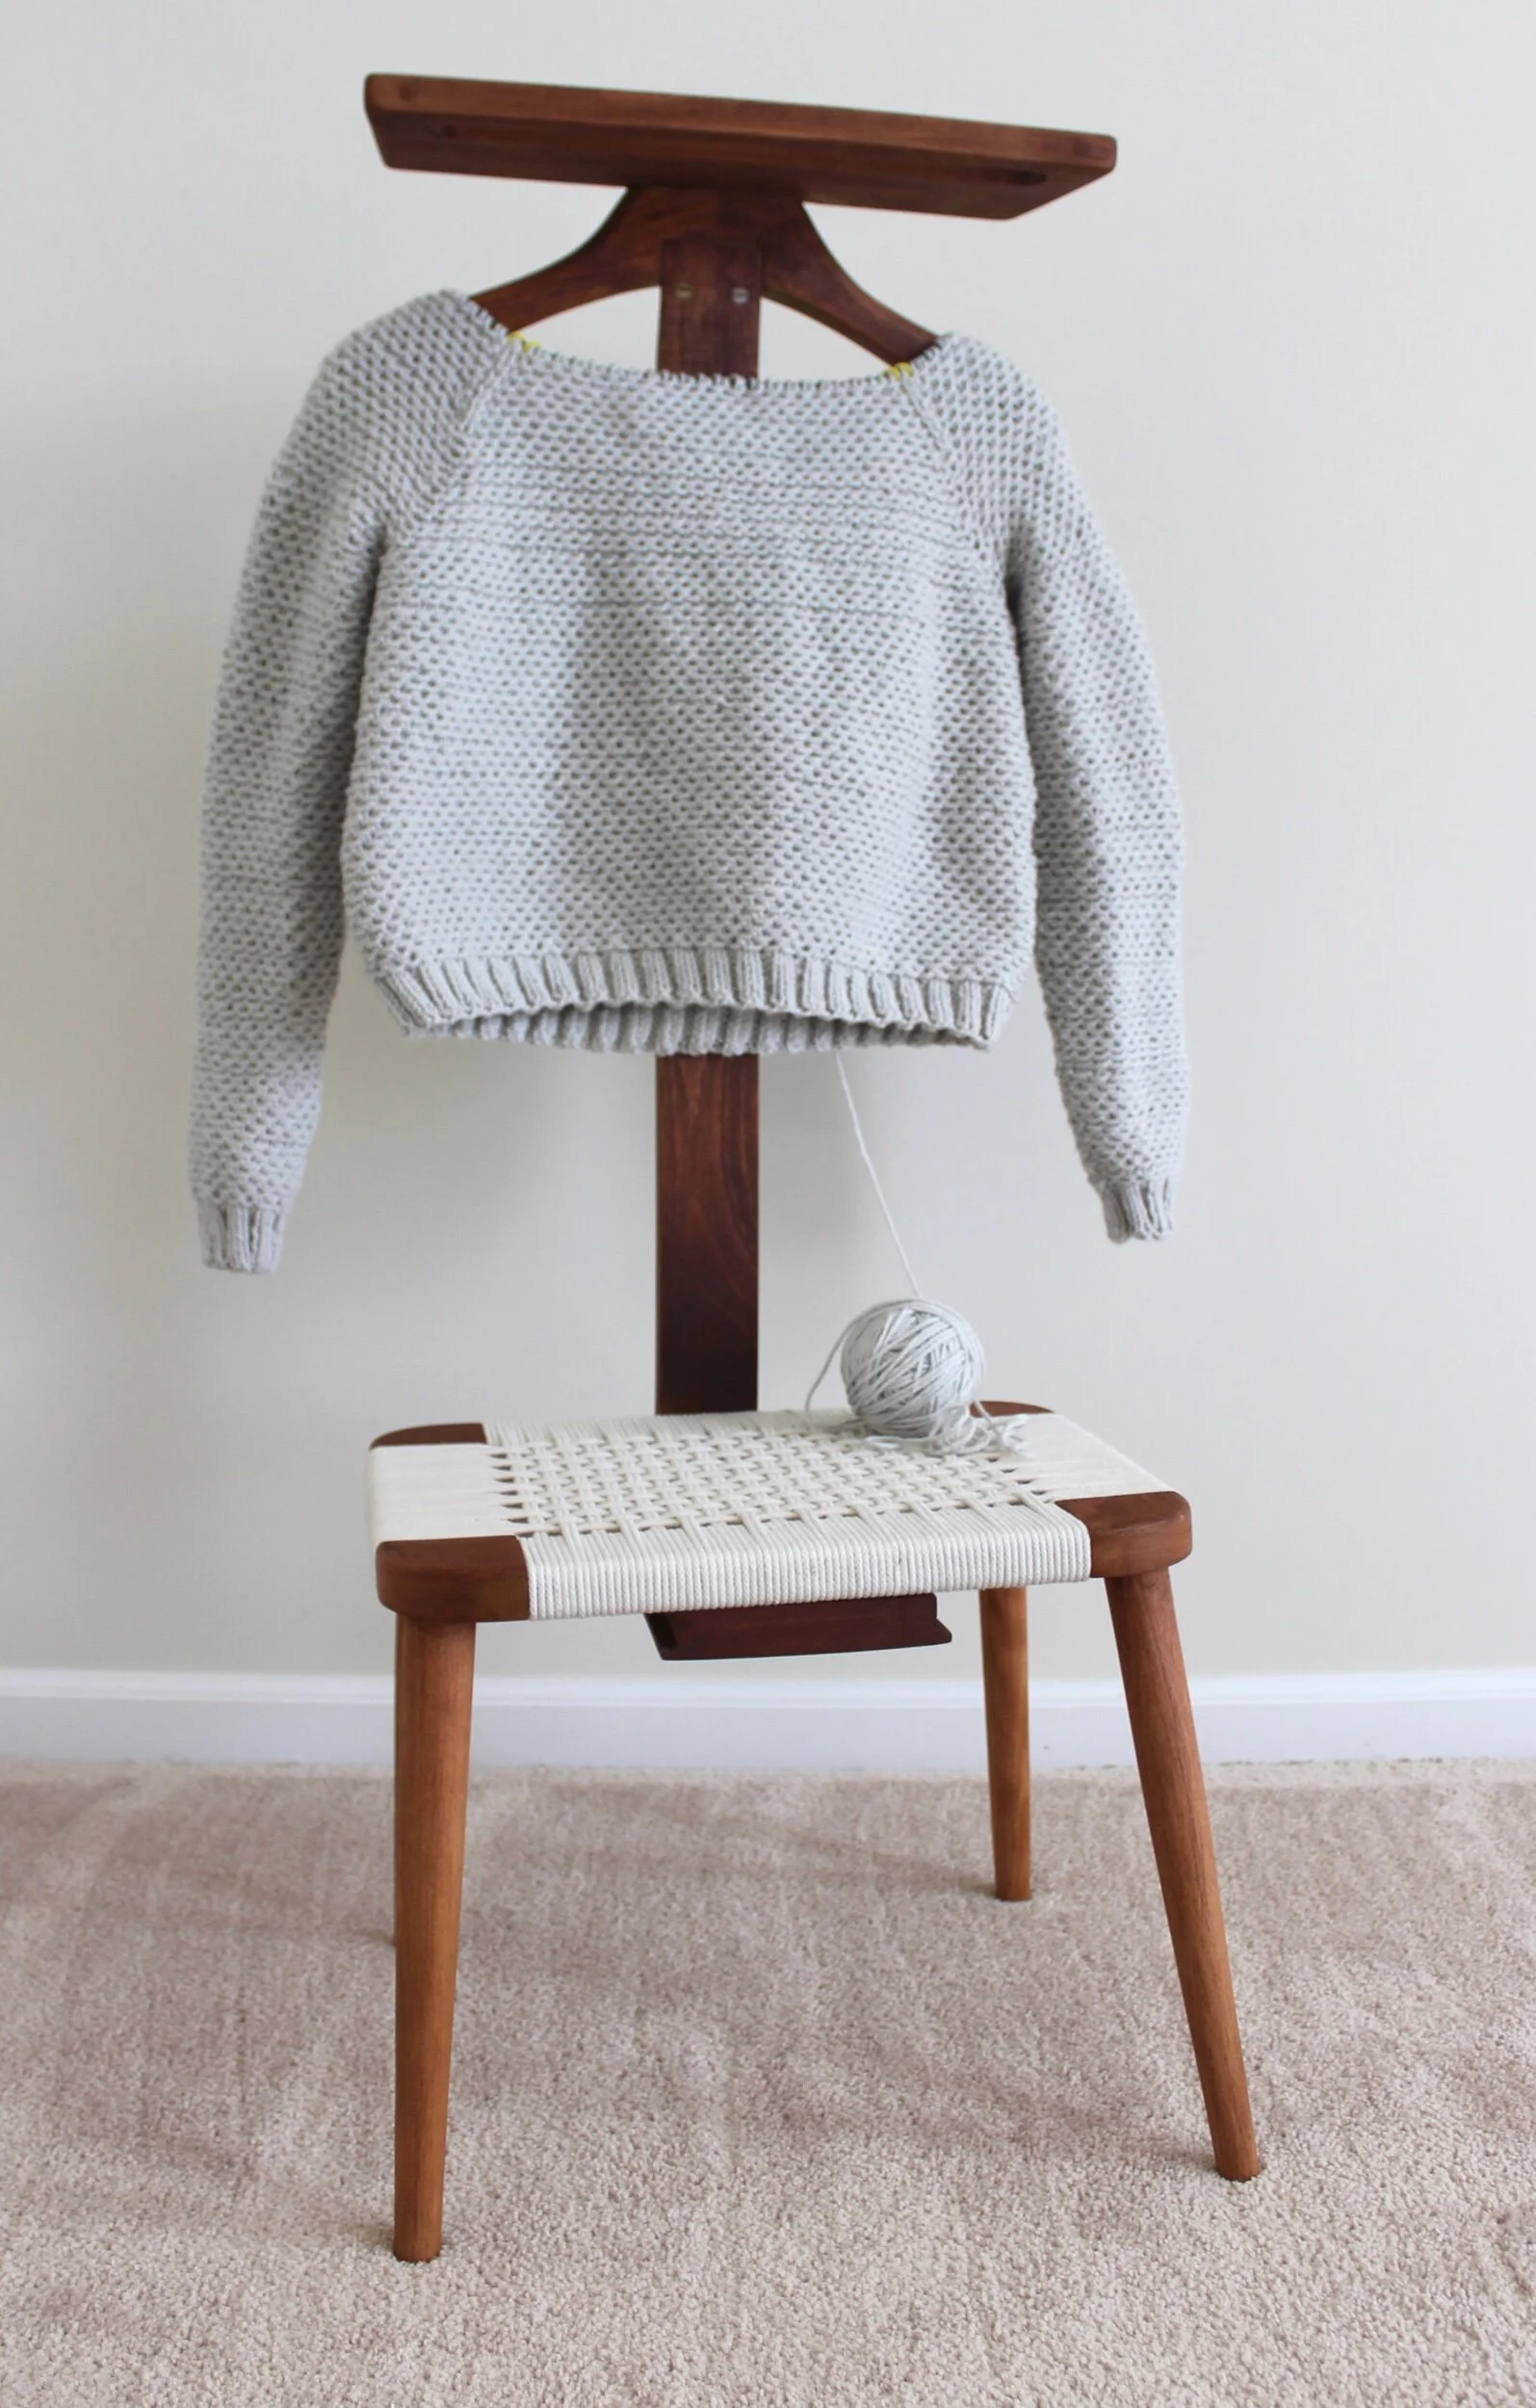
Evo enjoyed his gift and I get to enjoy seeing this beautiful vintage piece back in it’s full mid-century glory!